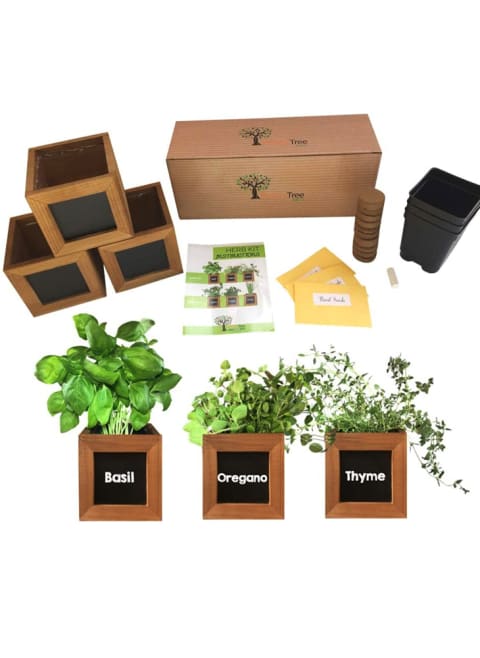
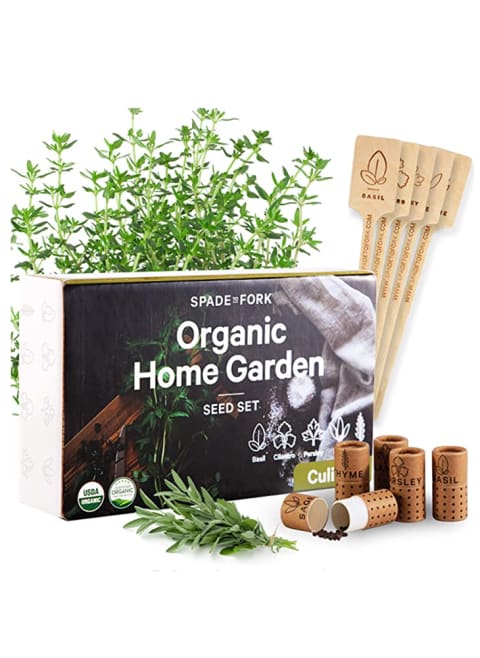
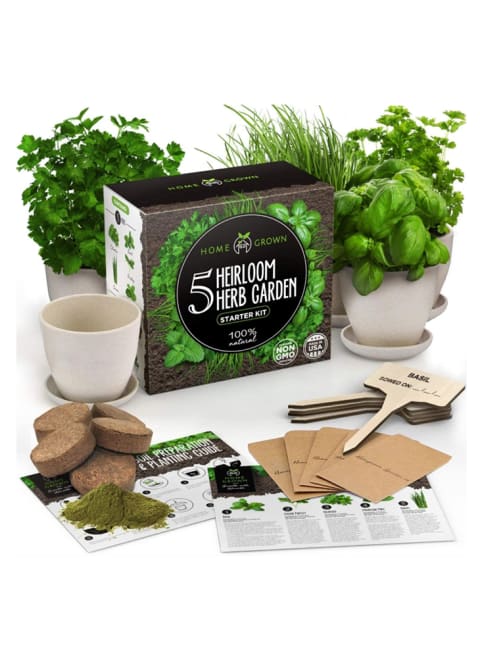
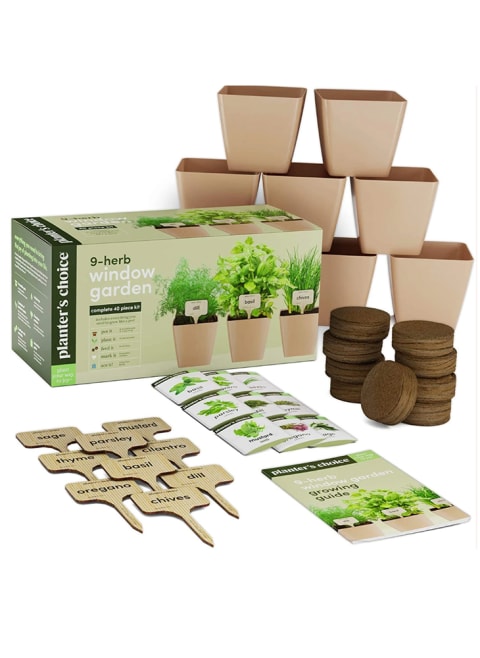
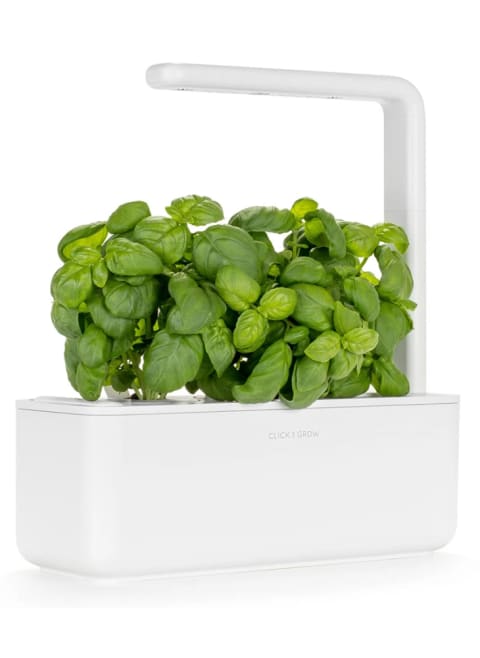
Another point to consider when choosing a site is water access. “The ideal spot for your herb garden, beyond having enough sunlight, is someplace with a water source nearby so you won’t have to drag hoses or lug heavy watering cans around,” says Enfield. The best placement for your indoor herb garden will be, unsurprisingly, the part of your home that receives the most light. Ideally, it’s a bright windowsill that faces south. If your indoor space is also too dark, indoor grow lights can stand in for a sunny window. You can test your outdoor soil drainage by digging a hole about 1-foot deep and 1-foot across. Fill the hole with water, wait 12 hours, and then fill it with water again. This time around, set a timer and see how long it takes for the soil to absorb the water. Well-draining soil should soak it up in under two to three hours. If yours doesn’t drain quickly, you might want to bring some bagged soil into your garden that’s specifically for herbs and vegetables. If you’re growing directly in your garden’s own soil, Pongetti adds that it’s a good idea to “amend” the soil by mixing in 1 to 2 inches of compost into its top layer before planting to help ensure your herbs will thrive. If you don’t have a spacious yard or patio and are limited to a porch or balcony, you may prefer to plant your herb garden in pots. This is also a better choice if your garden area doesn’t receive sufficient sunlight. “Use a high-quality potting mix to fill your containers,” recommends Enfield. Most herbs can grow in a limited space, making it easy to experiment and have a variety of herbs within reach. “An 18-inch container has enough growing space for around five herbs, and a 14-inch container will successfully hold about three plants,” says Enfield. If you have a favorite herb you always use in the kitchen (or want to start using more frequently), that’s a clear choice to begin with. You can also try varieties that aren’t readily available at the grocery store. If you’re taking recommendations for beginner-friendly herbs, these are all fantastic: There are a few exceptions, though, as some herbs can overtake your garden if not contained. “Mint is known to be very vigorous to the point that it may take over areas in the garden,” says Pongetti, as is oregano. These herbs can actually spread resilient underground rhizomes that overtake smaller herbs. Consider keeping them 1 to 2 feet from the rest of your garden, or in a totally separate pot. Planting herbs together that have similar needs will also make your life a bit easier. For example, Enfield explains that sage, thyme, rosemary, oregano, and lavender all prefer to have their soil kept on the drier side, so they would make for a nice little cluster. Planting seedlings is the easier option because it gives you a head-start in the growing process. You won’t have to wonder if all or any of your seeds will germinate; you can just immediately plant your herbs into your garden. “Starting with young plants gives us instant gratification and allows us to start harvesting fresh herbs quicker,” says Enfield. You simply gently place the seedlings in an appropriate-size hole, making sure the bottom is flush with the ground and pat the surrounding soil so they stay snug. Growing herbs from seed requires more time and patience, but it tends to be much more affordable. If you go the seed route, start the process of germinating them four to six weeks before you’re ready to plant, then move the seedlings to your garden. “The simplest way to determine if your herbs need water is to gently insert your index finger into the soil near your herb plant an inch deep. If the soil is cool and damp, check again tomorrow,” says Enfield. “But if the soil is dry, it’s time to water.” Signs that you’re overwatering your plants include yellowing, limp leaves. “Unfortunately, like many other plants, herbs will wilt (look limp) when they are underwatered or overwatered,” explains Enfield. If you’re unsure if you’re overwatering or underwatering, testing with a soil moisture meter will tell you for sure. Enfield explains, “Your herbs can be harvested as soon as their stems are big enough to eat.” Once you reach this stage, don’t be afraid to get clipping! “Herbs respond well to harvesting and will grow thicker and bushier with frequent trimming,” she adds. Don’t go too crazy, though. While it’s exciting to eat what you grow, there is a limit to how much of a plant you should be taking at once. An easy rule to remember is “Regardless of the type of herb, never harvest more than a third of the plant at one time—even if it’s tempting to take more,” Enfield says. She adds that if you’re looking to harvest just a few leaves at a time, you’re better off selecting the larger, more mature leaves near the bottom of the plant. No problem. There are a variety of herb kits that make it a cinch to get your garden growing. Here are a few highly rated picks for every style, preference, and price point: It’s ideal for anyone who is brand-new to gardening, both kids and adults alike. To add to the growing fun, one side of the container has a chalkboard to write the name of each herb. Peach Tree Farm Indoor Herb Garden Kit, $26.99 It’s ideal for the eco-friendly gardener who also really loves to cook. Spade to Fork Organic Home Culinary Seed Kit, $16.97 With sleek bamboo containers and wooden markers, it’s a good pick for the design-conscious gardener. HomeGrown Indoor Herb Garden Starter Kit, $34.99 Ideal for the chef who loves to experiment with multiple types of flavors, it’s a great bang for your buck. Planter’s Choice 9-Herb Window Garden, $44.99 Calling all tech-savvy green thumbs; this is the one for you. Click and Grow Smart Garden 3, $99.95 Just remember: Any new endeavor has a learning curve, so don’t be afraid to jump in, have fun, learn as you go, and watch your herbs grow. When she’s not writing, she enjoys spending time in her garden, experimenting with ingredients in the kitchen, or spending time by the ocean. See her portfolio on her website.


