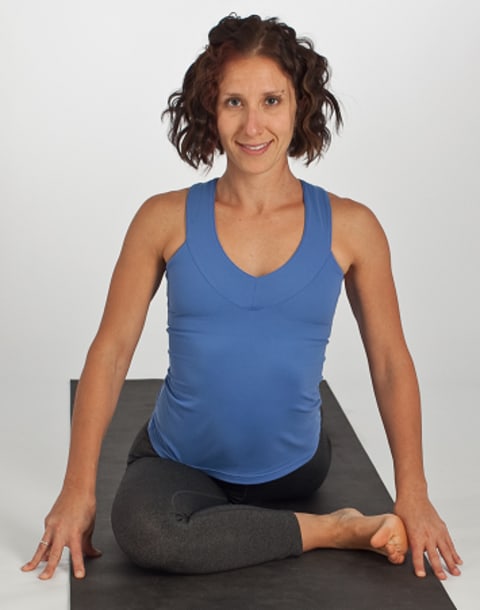
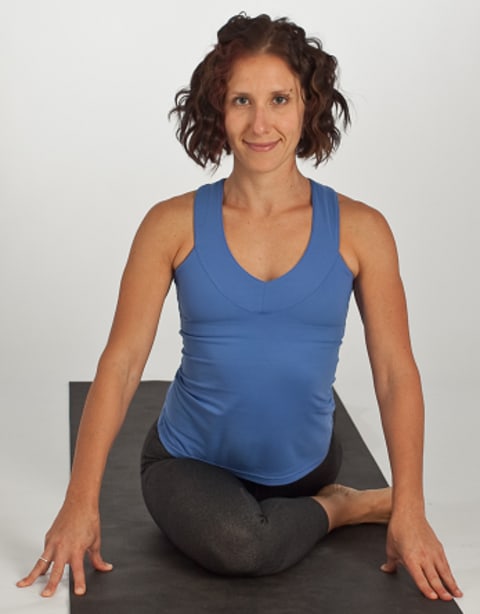
Pigeon can aid in a laundry list of issues and symptoms, but for many, pigeon is a pose that we often just flop into with no real direction or understanding of how we should position our body and why. These lower two chakras, the root and the sacral; house our relationships with ourselves and our relationship between you and me (one on one). It’s our grounding potential: our needs for survival, intimacy, trust and stability reside here. Furthermore, it’s been my observation that we’re a society in dire need of grounding, releasing and developing trust. Moreover, it will be difficult to trust others if you don’t trust yourself. Having spent most of my life in recovery, I never really understood what that meant until I myself realized that I did not trust myself, honor myself and (to be blunt) like or love myself in any shape or form. The anxiety I’d feel in pigeon was the same anxiety I was feeling in life, in those tight uncomfortable situations, and as I practiced and journeyed down the road of recovery I began to notice a huge parallel in the two experiences. To me a big part of yoga is allowing yourself to feel, and what I mean is not just coming into class, flying around your mat for 75 minutes and then laying down and calling it a day. Feeling on your mat means that yes you get in touch with your emotions, but also feeling in your body what is actually going on both on a physical level and an internal level. As we better understand what a pose is trying to offer us we can then better appreciate the need for it and maybe even sustain a longer period of time in the pose. For many people their pigeon is lost from the nest with little awareness as to where to go, they are just mimicking the gestures of the other pigeons hoping it is right and being guided with few words (which is O.K.) as to the release is in the hips. There is a lot of hip in a person’s body, a lot of territory one can experience the pose when the direction is given stretch in the hip. Most teachers guide students into pigeon, if the right leg was coming forward then the right knee would pull to the right, followed up by dragging the right heel over towards the left hip and then possibly forward as far as they can. For many years this is how I taught pigeon. Following this alignment the student either tries to come upright and because the hip flexors and quadriceps are tight and abdomen possible weak, the pelvis won’t move so instead they jar they upper torso back to make it feel like a stretch. After a few breaths there, they fall forward and sag to the mat waiting for the cue to come out of the pose. When understanding more about the body, especially the hips you being to understand and appreciate that not all poses are created equal, and when you understand that if your body can’t do something you want it to do, it will compensate with another body part, taking my example of the torso being upright in pigeon, the pelvis is fixed and doesn’t move due to restriction so the student finds the more mobile body part to still come upright at the suggested height, not realizing they never really moved the restricted area in the first place. So I love to know why, and in addition, I like to make sure students are very clear on understanding why they are doing what they are doing and what they could be possibly feeling. Inhale and begin to draw your torso upright, taking hold of your blocks to allow more stability to support the body. Draw your attention to the pelvis and notice if your ASIS (anterior superior iliac spine), AKA knobby points on the front of the pelvis are dropping forward and your lower back is crushed. Activate your pelvic floor to adjust the pelvis from a largely forward tilted position to a more upright position, this will take the load out of the lower back and also direct the stretch more fully across the front inner groin. Remain here for ten slow steady breaths, directing the release into the area of concern. Remember to keep the shoulders relaxed and the abdomen active and the outside of the left hip (back legs hip) moving forward, and at the same time feeling the hip of the front leg moving back. Those that suffer from lordosis will most likely find this difficult but beneficial, as the previous version they were practicing was only reconfirming the misalignment. Now exhale, keeping the pelvic floor active walk your hands forward of your shoulders and being to come forward keeping your front femur bone in line with your hip socket. If you feel the need for more stretch draw the right foot forward of the left hip a few more inches, but still not allowing the knee to slide out. Flex the front foot and lengthen the back foot a bit more by rolling the toes under and drawing the leg back a few more inches, after which extending through the toes and pressing through the top of the foot. Work to sit your right hip back even more, and draw the left hip even more forward. Do not fall into the right hip, instead prop up the hip with a block or blanket to stay aligned. Finally, extend your arms as far as you can forward, when extending the arms you better lengthen the spinal muscles. Use head support if needed not to strain the neck and to add pressure to the third eye point, sending a wonderful signal to the central nervous system to relax. Those with hip replacements will have better success in this version as the femur is not turning inward into the hip not but directly back into the muscle, those with sciatica will have more long term relief and for the rest of us this unwinding that we are stepping into will have a de-layering affect that will last longer and see more longer term benefits. The head of the femur is now directed directly back into the buttock flesh rather than inward into the sacrum. This variation has a more positive effect on: So take some time with this new version of pigeon, many find it’s more difficult as we are digging deeper into the body that we were otherwise. I find it essential to remember in yoga that it is not where we are going but where were we are right now, and this reminds us to take a moment and actually come to better understand where that is exactly.


